This is being published at the Sketchbook Challenge blog as well.
Hi everyone!
Carol Sloan here.
I thought that I'd give you all a short (but sweet) tutorial on another abstract doodle type (doodlish?) drawing.
I had a couple of doctor visits the past couple of weeks and (thank goodness) I was prepared to wait...and wait...and wait.
But at least I had pen, paper and plenty of ideas to pass the time.
I think that it entertained the elderly lady sitting close to me. Always glad to help with entertainment. My friends would say that I
am the entertainment.
Okay - let's get going.
Grab a piece of paper and a pen.
I create the initial shape with my eyes closed. I just enjoy allowing my hand to be in charge once in a while, ya know?
Then I added a small box shape on the side. Why you ask?
Cause I felt like it.
Well, actually because I wanted a closed in space to draw a few lines inside of.
Like this -
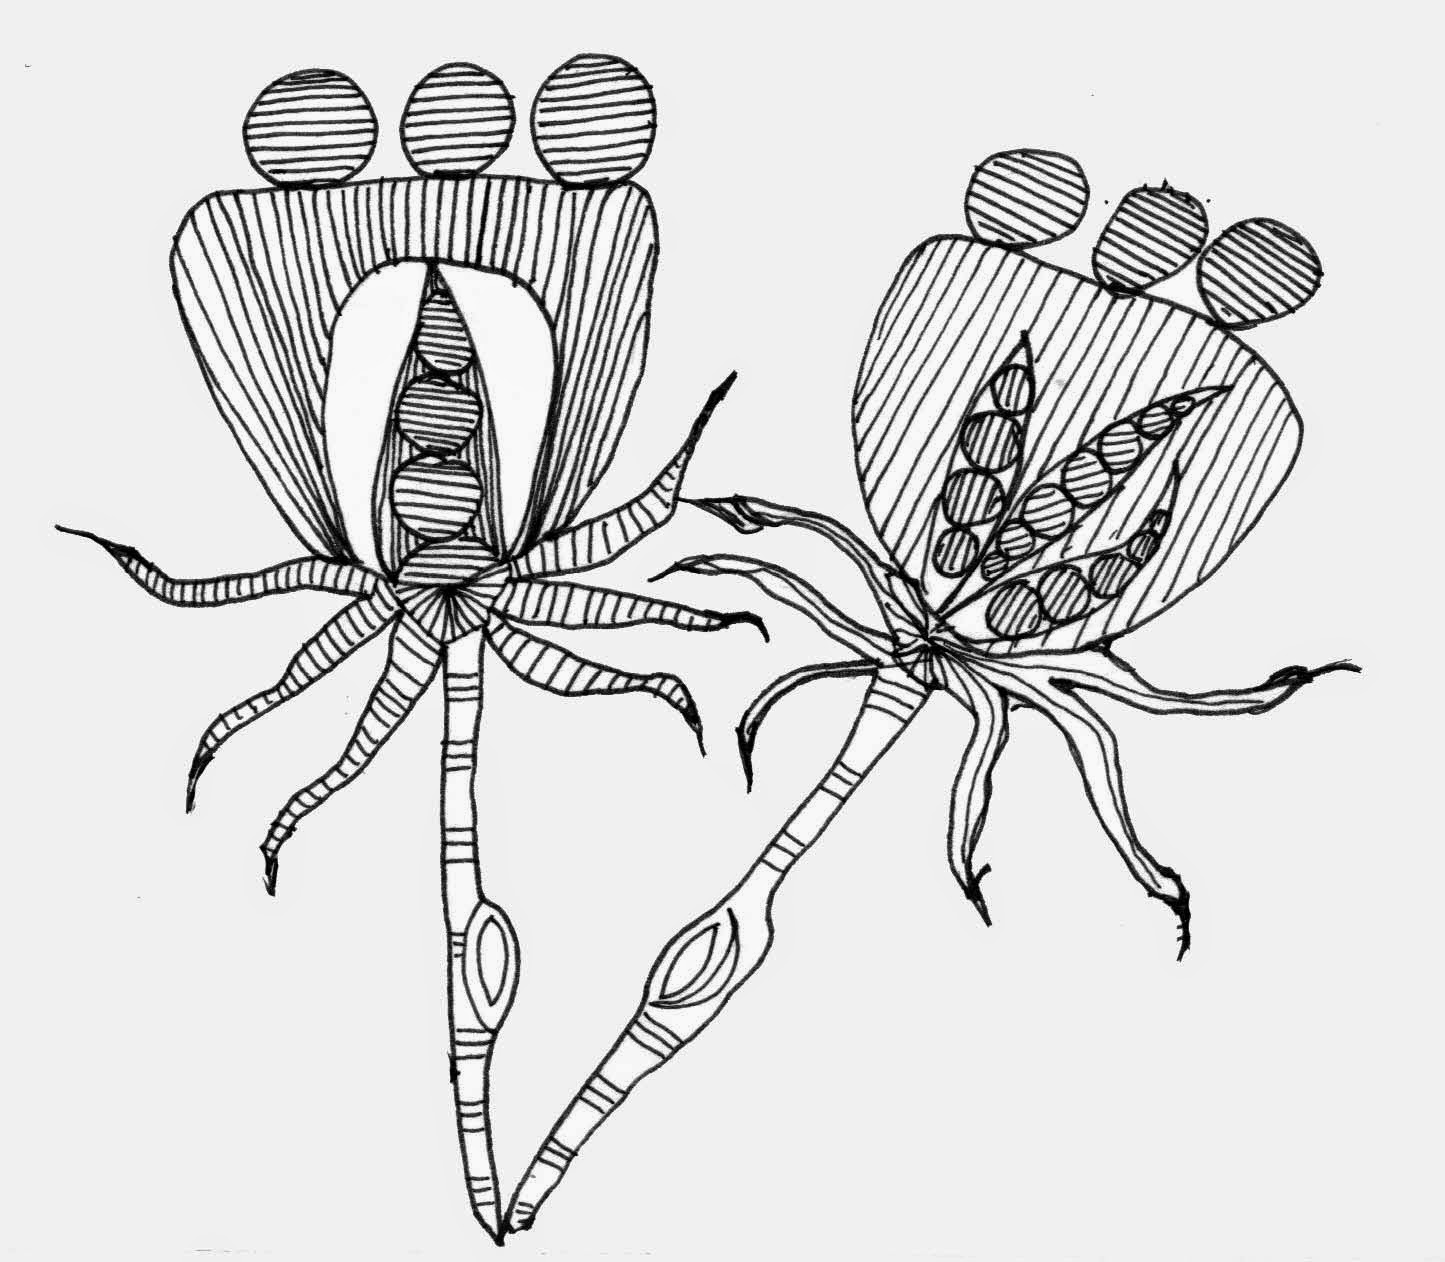
Then I begin to fill in this random shape with circles. You could certainly use any shape you wanted to - I just love circles.
If you use a variety of sizes (of circles) your fill will be more interesting. Here is an example of what I mean.
The area at the top left is what my drawing looks like when I first begin putting circles inside the shape.
Staying on the left side but looking at the middle of the shape, you will see where I am beginning to fill in smaller circles. I add this fill until the entire shape is full OR until I tire of circles and draw something else.
Notice how this really makes the larger circles stand out.
 |
I added a small "satellite" shape to illustrate the sizes of circles that I draw.
Now I will fill this with teeny tiny circles. |
I'll show you one of the other things that I do in addition to the little circles - variety
is the spice of life, right?
If you look at the
last post that I did about abstract drawing, you will see that I use series of short lines to fill space as well. I place them very close to one another as well as vary the direction in which they are going.
Here's an example of what I am talking about -
 |
I find it easier to add the circles before I fill in with line work.
And more fun.
Try adding tiny circles and lines! |
This is what my drawing looks like at this point.
I'm adding more tiny details. This entire drawing is apx.4 1/2 inches x 3 1/2 inches.
I am drawing in one of my sketchbooks and it is rather small as well. It measures 6 3/4 inches x 4 1/2 inches.
I carry it in my purse every where I go (especially to doctor appointments!).
Now, let's move on to the rectangle shape that I added.
I decided that the drawing needed a few little curly shapes growing out of it (upper left and lower right in photo below).
You may desire to let your muse have her(or his) way as well (if she/he wants to) and add a few interesting shapes that you can add details around later.
Next I drew a few horizontal lines across the boxed in area.
This is where t
he graph paper would work well. And you could add it in at this point. Just tear or cut the edges to fit around your existing drawing.
Let's make little squares out of these lines and fill them in with interesting marks.
Like this -
I have drawn a small segment of a potential fill that you may choose to draw as well. I love to create patterns from a series of simple lines.
This one is kinda messy but I think that you get the idea. It works in the small drawing above.
I draw the diagonal lines first, then add the vertical lines. It really does make a great pattern when you draw several of them together.
I'd love to see the results from your artist date (with your sketchbook)!
Please post them on Flickr so we can all be inspired from each other.