Tuesday, July 23, 2013

Rusty Goodness

I love the color of rust.
I love the depth of color that you can get when rusting fabric.
Here is a sampling of what I did with some of the rust that I have collected.


This is cotton jersey with a bit of spandex.
I am making scarves out of the fabric - they are beautiful.
And so soft after washing, no hard particles of rust on/in these.
I have several scarves made from the fabric and I love them all. A couple of them are embellished with a technique that I wrote a magazine article about. It's coming out later this year.
These are about 9 inches and the length varies (shortest one is about 70 inches).
If you're interested in purchasing one, shoot me an email.
I will send you photos of the finished scarf.
The price is $45.

Saturday, July 20, 2013

Upcoming Classes

I will be teaching a couple of classes in a couple of weeks in Colorado Springs, Colorado at the wonderful "Blue Twig Studio", owned and operated by Deb Prewitt.
These may be the only classes that I teach this year so grab them while you can!

The first one is a short evening class.
We will be making what my father in law refers to as "hobo gloves", more commonly known as fingerless gloves (I like the other name better).
I made them after I found a book by Natalie Chanin in the library.
Imagine my surprise when her third book had a pattern for a similar pair in it!
Great minds and all that, right?
I did use portions of the stencils in her books (or website) on some of my gloves. Some of the designs are my thermofax screens.


This is actually a skirt made using the same technique.

It will be a fun-filled, learning extravaganza...I assure you.
Check it out here.


The second class is one of my favorite classes.
A handmade book.


Collage making, textiles, papers, fibers, threads and vintage ephemera.
Hand stitched pages.
Beautiful story telling in a book.
I have spoken of this class before - here and here.
Please join us as we craft a one of a kind handmade book that will be the envy of all of your friends (and enemies).

Wednesday, July 10, 2013

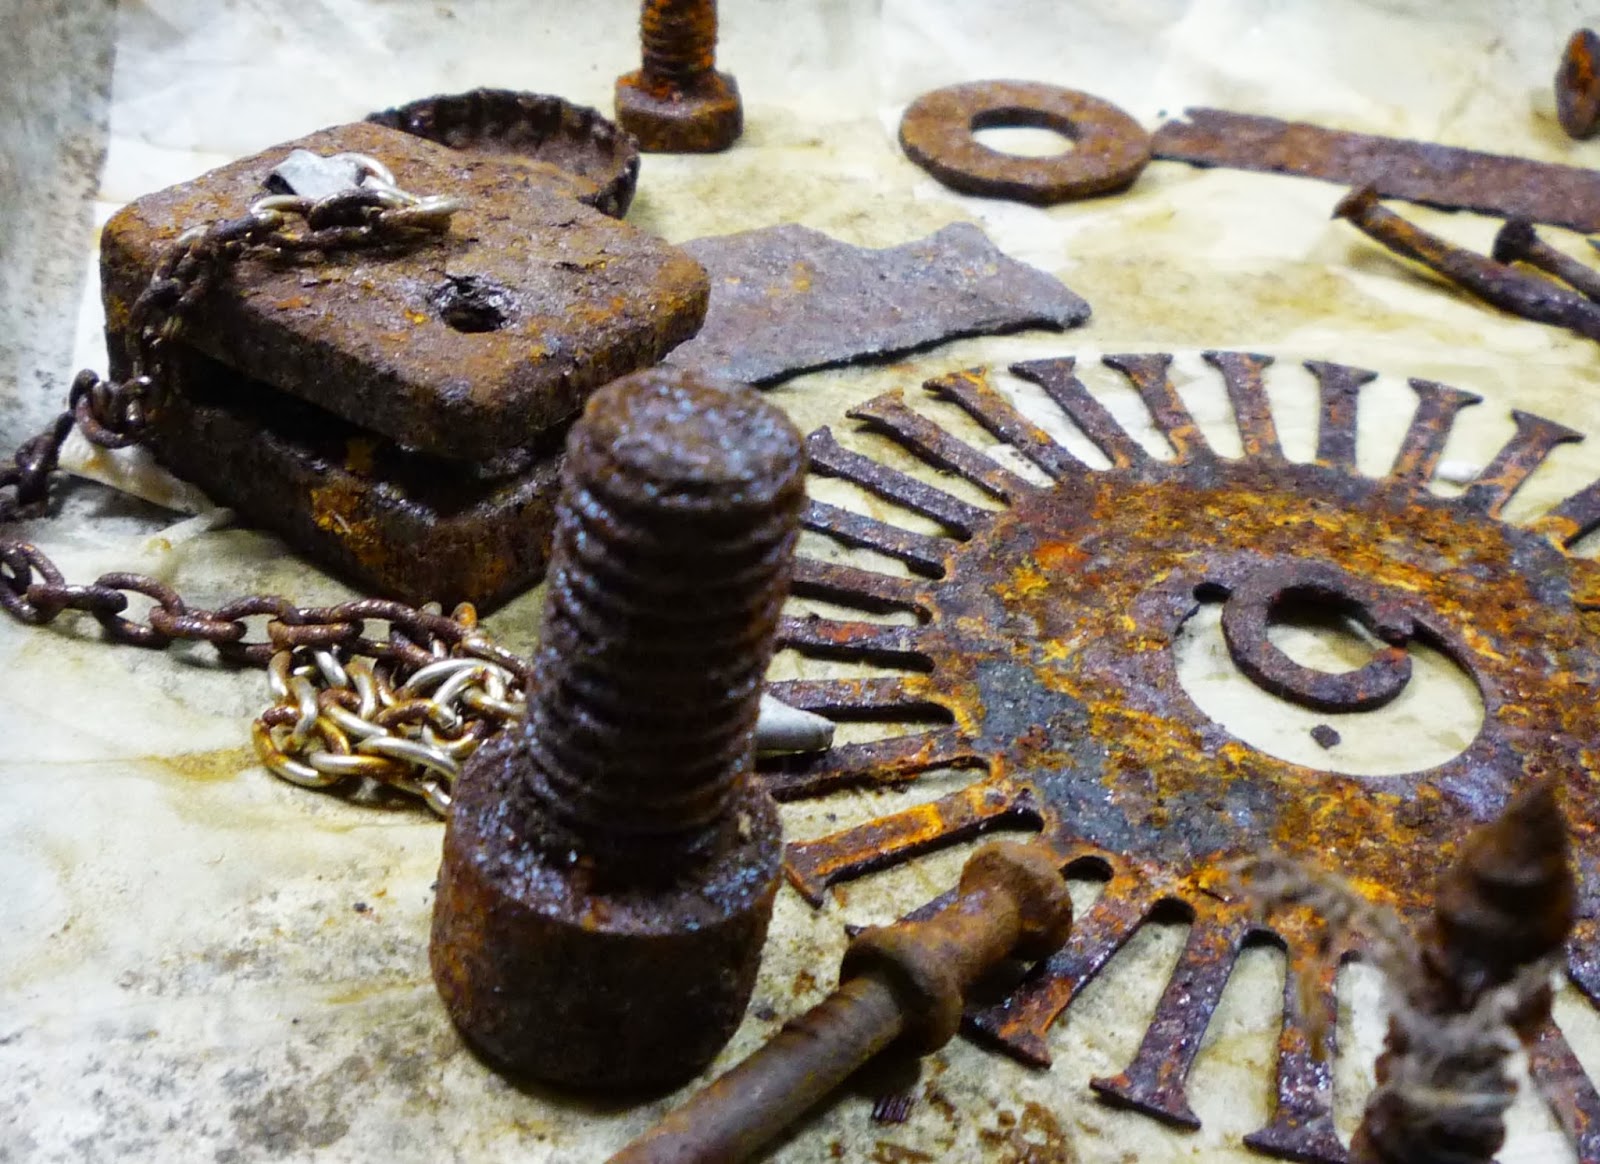
Rust Graveyard

I have quite an impressive collection of rusted pieces.
My husband and I cleaned it out a few weeks ago, narrowed it down to only two (5 gallon) buckets and a small container of tiny pieces.
I pulled out a few pieces to begin on a book idea that I've had rolling around in my head for weeks.

Time to exorcise (or exercise) that ghost, right?


Sunday, July 7, 2013

Dyeing Thread

I've been experimenting with natural dyes on thread.
I have the thread that I purchased from Hank and Spool and a thread that a friend of mine gave me.
I can't remember what type of thread my buddy said it was but I believe that it has wool in it from the looks of it and how it behaves in dye.

I followed (albeit loosely) the instructions in the book "Harvesting Color" by Rebecca Burgess.

Here's my results.
This is a coreopsis from my garden. I can't remember the exact type but the small blooms have dark red centers with lighter red along the outside of the petals.


The darker thread is the silk/wool blend form Christine's shop.
I really love this thread. It turned a chartreuse color, a deep and beautiful mix of green, gold and yellow.

The other thread is more of a bright chartreuse color, leaning towards a yellow but beautiful all the same.

These have dried for a day or so and have been rinsed in cool water. I haven't used any type of soap on them but will do that later.
Maybe Synthrapol?

I love the colors but what I love more than that is that I did it!
I mean that the flowers came from my garden, the color from what I did with them...it's a natural, non toxic dye material.

My next experiment was yellow onion skin.
I have been saving skins, freezing them until I had the time or inclination to use them.
Again, I followed the instructions in the "Natural Dyeing" book.
I did soak some of my thread in alum. If you see a red thread tied onto a bit of thread, that was my reminder that I pre soaked it in alum.
I really couldn't tell that much difference in the thread that was soaked versus the non soaked thread...


The thread from my friend did not accept the color as much - not nearly as much as the silk blend.
It is still a very nice light tan/beige color.
It will work beautifully on natural dyed fabric.

I am working on another dye pot but will post about it later. It's not ready quite yet.

I also have a few bundles to open up soon! I have managed to wait more than one or two days to open them...aren't you proud of me?

I hope that everyone is having a peaceful time - whatever the weather is in your part of the world.
It's rainy, rainy, rainy here.
We are about 18 inches above our YEARLY rain amount. Hard to believe that we aren't in a summer drought yet.
I don't mind the rainy, cloudy weather for the most part. I do love the sunshine but I also love the moodiness of cloudy days.
It makes it easier to sit and read or draw.

Wednesday, July 3, 2013

Thread work

I had prepped a couple of jars of liquid to use as pre and post mordants - tannin and iron to be specific.
I also had a pot of eucalyptus "soup" that I was allowing to gently simmer on my stove top (a single burner that I plug in outside).
I decided to wind off some of the silk thread that I bought from Christine Mauersbergers shop "Hank and Spool". This thread is so luscious that is seems to shimmer from inside.
I wanted to try it out in a couple of the dye baths that I had set up.
Here's a shot of the thread, glowing with natural dyes.
It really does seem to glow.

It's so difficult to capture that shimmer in a photo but here are a few attempts.
I have a range of colors from beige to brown to khaki to olive green to deep charcoal to the reds of the eucalyptus.
All lovely and dyeing (ahem) to be pulled through equally lovely fabric.

I love the array of colors that the eucalyptus offers.

I also used a thread of unknown fiber content that a friend gave me.
I think it is a wool blend as it looks like another commercial blend
thread that I have in my sewing basket.

Cotton thread that I use for crochet (used to anyway).


Beautiful range of grays

Some of my favorite colors!
My friends give me a hard time for wearing them so much
but I love them so.

Color that shimmers and shines.


Monday, July 1, 2013

Found UFO's

No, not the flying kind but the kind that you put down one day never to pick up again.
The kind that gets buried under a pile of awesome stuff that you can't pass up nor part with.

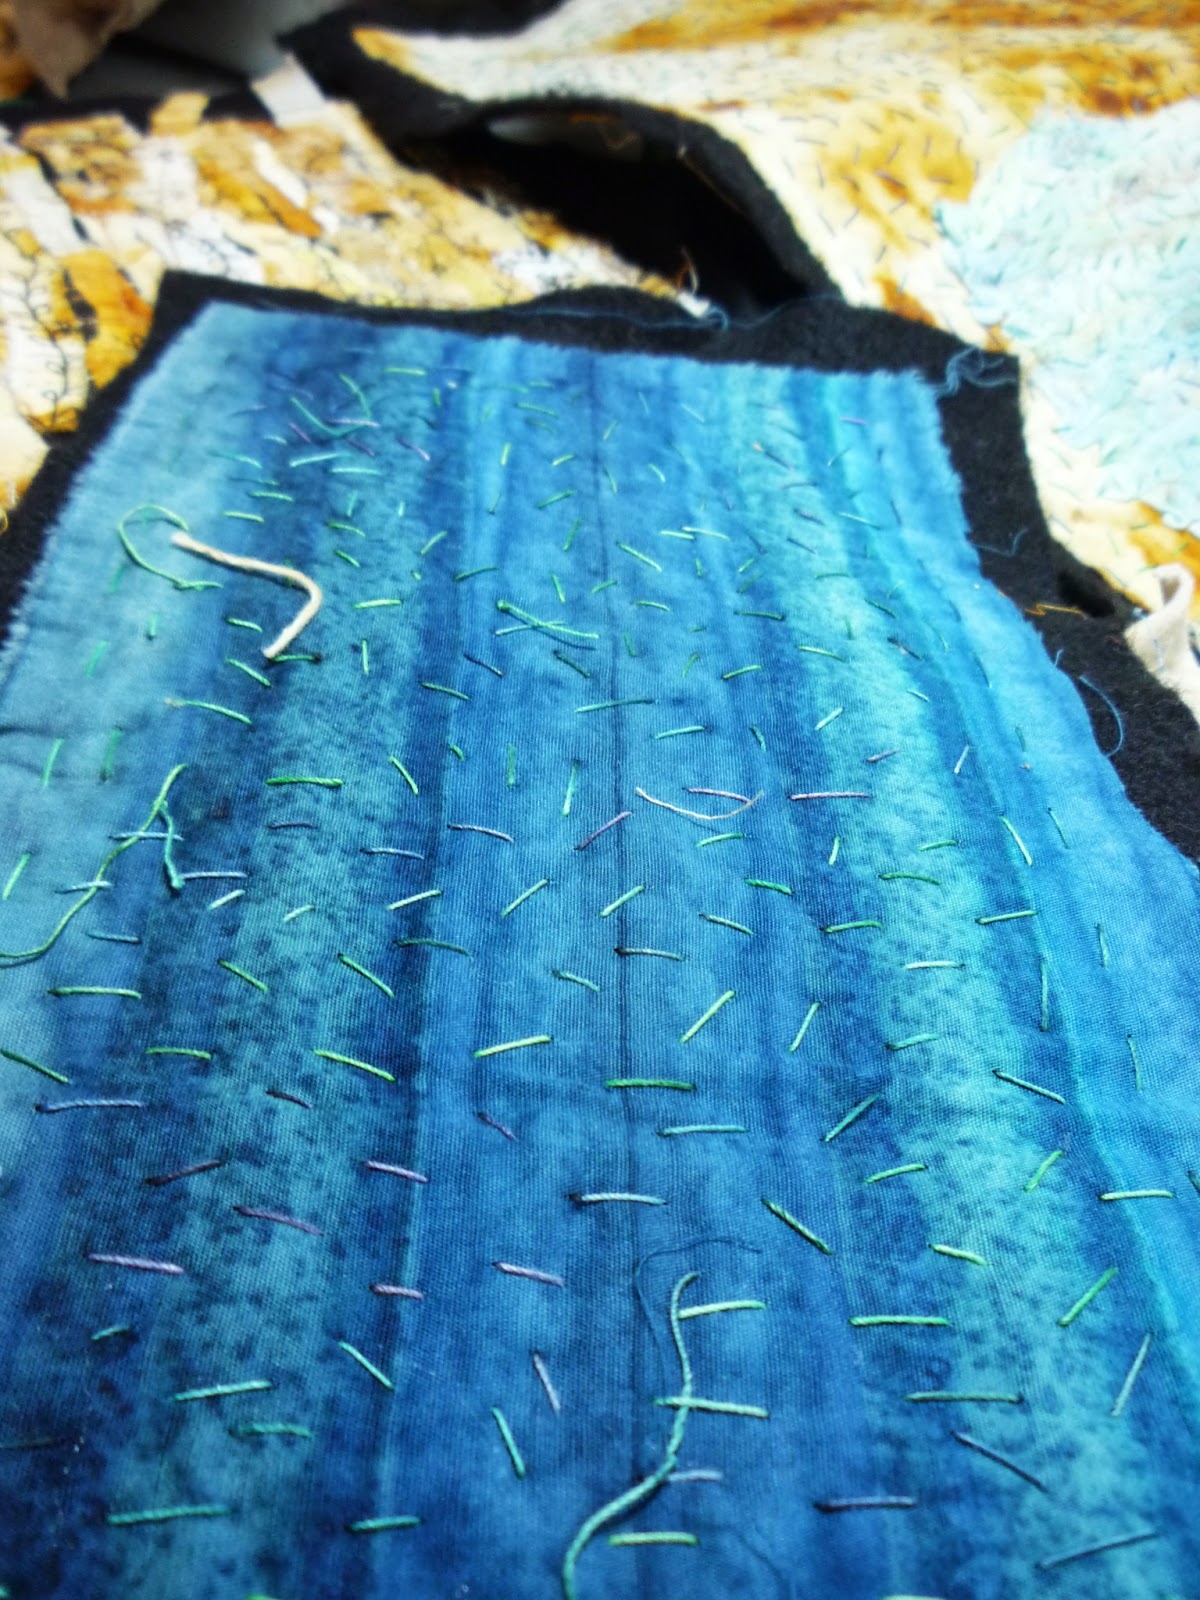
I was going through a bunch of my supplies, trying to get rid of a few things and found a handful of rusted fabrics that had a few beginning stitches on them.


I think that I was going to make a sampler book, of sorts.
I do remember taking it to baseball games, sitting in the stands, stitching away - quite happy to be there with my handwork. But I don't remember exactly what I was working towards.


Do you ever do that? Just work on small pieces, figuring that you will do something with it later on?
I do that when I can't quite figure out what my mind is leading me towards but my hands insist on doing something.
I always save the scraps from fabrics and such that I rust and dye. Some of them are just too beautiful to discard.
The photo above is an example of one of the things that I do with them.
I layer then onto a base fabric (usually black) and then build a story on top of this.

I rust and stitch such things as discarded pantyhose.


Old cotton lace. Canvas. Sheer curtain panels. Your grandmothers silk slip (well, my grandmothers).
Drawer liner.


You just never know what's going to work (with dyeing or staining) until you try it.

I'm gathering all the bits and pieces of beautiful things that I find.
And then see what I can do to make use of them.

Remember that I sale packs of rusted media in my Etsy shop.
Check them out here.


Tuesday, June 25, 2013

Pecan Stems

Pecans are one of my favorite nuts and I love the trees too.
When I was a young girl, I lived near a pecan grove that provided many hours of play, hiding spots and climbing experience.
I loved the even rows of trees that stretched for acres.
It became my personal forest and my safe haven in a world full of scary miscreants.

I continually revisit the pleasure of the comely pecan tree with eco printing on fabric as well as paper.
I am working on a concertina book that celebrates my love of it.
This is one of the pages.


It is a perfect palette if you ask me...beautiful neutrals.
I love the way that the iron mordant edges the page and accentuates the stem and around the leaves.

When you use natural items to dye or print with, you become very familiar with  shape of the what you are using. You will be able to pick the leaf out of a line-up of other leaves.
I loved the pecan tree before for its safety, its imagination and its very existence but now...now, I adore it for its shape, its color and its exciting possibilities!

It's always more difficult to coax color out of cotton fabric as opposed to silk or wool.
I wonder why it is so simple to obtain color from paper that is made from cotton rag and so difficult to obtain the same color from cotton fabric?
Oh, I can imagine all sorts of reasons but if there is a "simple" answer to that question, please tell me.

I put on my mad scientist cap this past weekend and began a series of experiments on a particular cotton fabric that I have here.
It's a PFD fabric that I purchase by the bolt so I have plenty to experiment on.
I am trying different mordants, various heating methods as well as a couple of shibori resist folds.
Between the information that Yoshiko Iwamoto Wada's book offered me and the website and online class of Glennis Dolce  (it's on sale right now), I was set to go with many shibori techniques.
I have done a few things before with shibori (indigo vat fun with Yoshiko Wada in Asheville NC) but very simple, very basic.
And I will keep it that way until I figure out the best way to get the results that I want with the natural dyeing.


I love the way that the folding, clamping and stitching creates a memory in the cloth.
Just as my childhood memories create a special mark on the pecan tree prints, the shibori folds create a different memory on the cloth.
I love tying the two together in one place.

This is a piece of the aforementioned cotton fabric.
The pecan stem is a little difficult to see because of all of the patterning made by the folding of the fabric. It makes its own resist and pattern as well.


I love the marks left by the binder clips that I used.
The clips are sold in office supply stores in small boxes ("binder clips"). They come in a variety of sizes as well, so you can get different widths of line in the resist that they create.
The horizontal lines and squares left by the folding technique appeal to the OCD in me.
The unpredictable splay of color calms my mania. It also triggered several ideas which I'll be working with this week.

Damn, I have so many ideas related to this that I could work on it for a year or more!

I guess what really excited me the most was being able to get that much color and pattern from a pecan stem, a handful of binder clips and a pot heated on a hot plate.

There must be a 12 step program for the addiction that this has created.

Saturday, June 22, 2013

Botanical Garden Bounty

I continue to be enthralled with natural dyeing/eco printing/whatever you want to call it.
I call it fun!
Even though it is (mostly) unrepeatable and not really predictable, I find it to be the most addictive thing that I have ever done.
I can see why people like India Flint dedicate their lives to it (even though I know that there is so much more to what she does).
I am indebted to the path that she and so many others have blazed in the call of creating with wild color.
I have been spending most of my spare time at my dyeing pots.

I went over to the SC Botanical Garden in Clemson this week and met with one of the horticulturalists (thank you John!).
We spent a little bit of time under an ailing eucalyptus tree that they have, talking about what I was doing, what they were doing for/to the tree.
They are going to wait a bit longer and allow the soft stems to grow more, then clip several in order to propagate them.
I was allowed to harvest a small bag of green (but mature) leaves as well as all I wanted from under the tree.
As you can well imagine, I came home with a grocery bag full of leaves and several pic es of the beautiful bark.
I was also allowed to harvest leaves the other eucalyptus there. 
It is an E.cinerea with the largest leaves that I have ever seen on one. Some of them were as larges as 4-5 inches wide.
But then again, I haven't seen that many mature ones before.

Here's an experiment with some of the leaves from both varieties as well as fresh vs old leaves on linen.
I love the colors!


Back to the call of the wild. 
I got the most beautiful prints from a "weed" in my yard! I can't wait to experiment a little more with it.
I'll post photos when I get a chance.


Tuesday, June 18, 2013

Sketchbook Images and Southern Girls

I saw a beautiful porcelain bird in a shop one day but did not purchase it or take a photo of it.
I really wish I had of bought it...it was white with feathers drawn in gold paint.
Just beautiful.

I saw a similar one in a gift shop in Asheville NC that I purchased.
The feathers are not drawn on this one but I really like the longer legs and beak.

Here's an early morning shot of it -

She poses for me

"Wait, this is my best side"

Posing for me in the bright light by my sink.
This lovely birdie is about 2.5 inches tall.

I decided to pull out my sketchbook and draw my version of the bird.
Sans color.


I will eventually add some color.
Maybe.
If I remember to go back to it.

It's hard for me to go back to a drawing once I turn the page in my sketchbook.
I just keep drawing.

I would guess that most of the drawings in my current sketchbook have no color on them...just pen, a little pencil.

I seem to get distracted so easily, going from this to that.
Mostly eco printing/dyeing, drawing, reading and writing.
Not much arithmetic though.
hahaha.

What I would really like to do is hijack my blog.

I had a discussion with a couple of other artist bloggers about how we say things that are "nice" or "socially acceptable" and shy away from the "questionable" things on our blogs.
Or topics that might bother someone.
Heaven forbid we piss someone off, right?

We bewailed the fabricated loss of our blogs, of our very pulpit.

Why did we feel that we couldn't be honest or free with our voice on our OWN blog?

I could probably rationalize my hesitation
I am a Pro at that you know.
Rationalization, that is.

I am a Southern girl (a woman really but in my mind I am still full of young thoughts and ideas).
Anyway - Southern girls are taught to be nice.
Be nice, dammit - we heard that a lot.
We still hear it actually.
Gracious.
Be gracious and be nice dammit.
And mannerly.
Mind your manners young lady. I heard that a lot too.
What they really meant was "Mind ME dammit".

So, I always try to be nice (dammit) and gracious on my blog too.

Maybe I won't be so damn (!) nice from time to time...

I need to give myself permission to hijack my own blog and tell it like it is - just from time to time, that is.
My close friends and family will laugh when they read this, considering that I usually do "tell it like it is".

But, for today anyway, I will "be nice dammit" and just share my sketchbook instead of my opinion.

I'll stick with telling you to "be creative dammit", how about that?


Saturday, June 15, 2013

Creative Ideas (or Catching Stray Thoughts)

I am one of those hyper-creative people.
I get ideas all the time and can look at most anything and figure out something creative to do with it (or to it).

For instance, I was watching a tv program with my husband the other night and noticed one of the actors shirt.
It was white with a really nice abstract design on it.
Bold, bright colors.
Hmm...nice designs...

I grabbed my sketchbook, jotted down a quick sketch and added a couple of watercolors to help me remember the colors that caught my eye to begin with.

I also added a note to help  me remember where I saw it.
I can see a lot of uses for this design - thermofax screen doe fabric surface design, art journaling, basis for a larger design motif, carving for joint compound surface...the list goes on and on.


Where do you get ideas from?
Are you in the habit of jotting down shapes, colors or other reminders of things that catch your eye?

Wednesday, June 12, 2013

Morning Sketches

I've been picking up my pen to draw before I sign in on the computer every morning.
That way I get one sketch in before the internet sucks my time away.
I've drawn a variety of things - some things here in front of me, some out of my head (now that's a scary thought) and some from looking at photos or books.
I have created a couple of new thermofax screens to use in surface design.

This is a morning drawing of a teapot that I had given my mother years ago.
It's one of those tiny little things - about 2-3 inches talk & wide.
But big on beautiful.


I meant to go back and add another layer of color...eh, I'll let it go this time.

Friday, June 7, 2013

Views From The Garden

This is a re-posting from the Sketchbook Challenge blog.


Here in the southeastern United States, the temperatures are rising as is the humidity.
I love gardening and have always had small flower gardens in my yard. But lately, between back injuries and other aches and pains, I haven't spent much time in the garden doing anything except admiring my husband and his handiwork with weeding and mulching.

I have been drawing, messing with plaster and making books.
And a little natural dyeing/eco printing.

Here's one piece that I created using a piece of MDF board as my substrate. The tree stem is a loose interpretation of a dogwood tree in the neighbors yard.


I will be adding a quote or something in the open area (darker pink) later. I'm waiting for the piece to indicate what it needs to say.

I layered plaster and joint compound on the substrate.
After allowing that to dry completely, I carved the drawing into the surface.
I used watercolor paint and acrylic glazes to add layers of color.
I think that I sealed it with soft gel or maybe a spray finish.

It's a wonderful practice to sit and really pay attention to the beauty around you.
And documenting that in a sketchbook or on a piece of artwork is a fitting tribute to all that Mother Nature brings to us.

Tuesday, June 4, 2013

"Wabi-Sabi Art Workshop"

Serena Barton has written an outstanding book about embracing our imperfections and those of our art practices.


I read the introduction and saw myself in almost every line.


I have found my wabi-sabi art soul mate in Serena Barton.


I recently did a blog post about how I wondered if some of the art that I have made was my own art (see this post).
In that post, I talked about what you would find if you peeked into my studio journal or my photo files- they are full of what Serena calls "wabi sabi colors, texture and photos".

Her book guides you through a few pages of the unlikely places that the "wabi-sabi artist" finds inspiration.
Those photos rang a bell in my memory - right back to that blog post above.
Serena could have looked over my shoulder at the photos that I was talking about in the post.

The imperfect, the decaying, the ephemeral.

To take the parallel one step farther, you could look at the photo of the piece of artwork in that post, "Protective Armour", thumb through Serena's book at her artwork and you would be struck with the similarities.
So, having said that, you will understand why I love the exercises in this book.

I really liked the way that she encourages us to allow our intuition to take the lead when creating artwork.
I do believe that most "accidents" (or "opportunities for 'out of the box' design" as I like to call them) are the basis for the most growth as an artist.
We learn more from working around, through and on top of mistakes than we do when everything is going according to plan.
And, we have a much better recall of what works and what didn't work.

There is a wealth of interesting techniques in this book too!

If you've never worked with "re-inkers" (or like a lot of people, you have them but never use them), there are a couple of exercises (maybe more than two) that use them in the book.

The type of  exercises  in the book are a great basis for building the groundwork of being a wabi sabi artist. They not only introduce you to (or reacquaint you with) a new product, they assist you in learning all of the different applications for it.
And it's the first book that I seen that uses a few of the products used in the same piece (you will have to get the book to see what I am talking about).

The book has seven main chapters that include the following -

1. Looking for Wabi-Sabi and Finding It All Around You
1. Patina of Time: Creating the Effects of Seasoning
3. Strata of Time:Creating Layers of Texture
4. Throw in the Towel: Working with the Unexpected
5. Abstraction from the Real: The Power of Suggestion
6. Translucence: Creating Wabi-Sabi in Wax
7. Buried Treasure: 3-D Wax Art and Other Enhancements


Serena has written a wonderful guide that encourages you to allow your inner voice to run free, yet gives you excellent tips/guidelines for reigning her ass in if she gets too far out there (you know that we all do it).

If you're already a "wabi-sabi girl" (or guy), you will identify with and understand the path that she walks down.

If you want to learn how to listen to your intuition in regard to creating harmonious artwork and revel in it,  then this is the book for you!

You may purchase a signed copy at Serena's site (and get a bonus of collage items!) or at Amazon (please leave a review after you read it!).
Serena is having a give away over at this site - for an original painting! Leave a comment and tell her what you are creating right now. That will put your name in the hat for the painting.

There will be more blog reviews this week - here's a handy list for you.


Jill Berry will be giving away a copy of the book at her blog on June 10th. 
She will be choosing a name from the people that leave a comment on the book review post. Make sure that you post a comment on that particular post!

Now- my advice to you is to go over to Serena's blog and purchase the book from her. You get an autographed copy (which you will cherish) and a packet of collage times to get you started on your Wab Sabi way!

Go! 
Buy!