Showing posts with label deconstructive screenprinting. Show all posts

Sunday, January 2, 2011

Revisiting an Old Friend


A few blog posts ago,
I was strung out on sewing with some of the fabric I made with
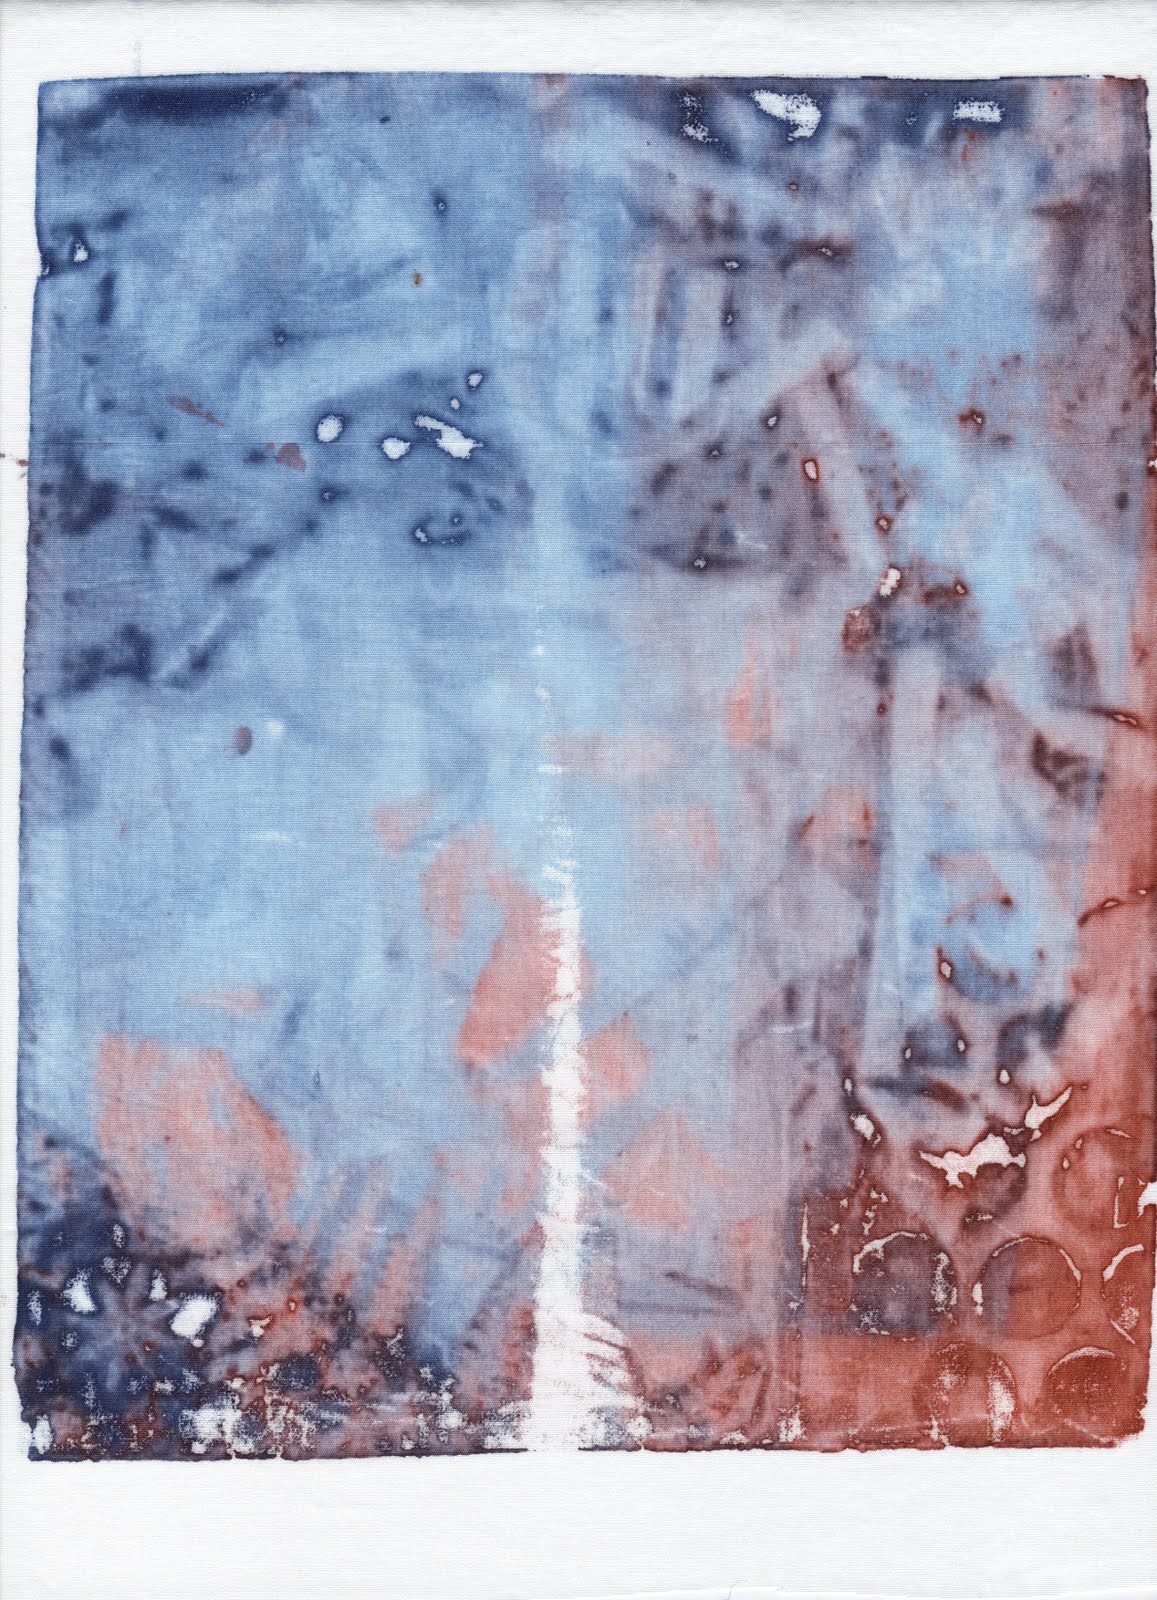
deconstructive screen printing.
I neglected to post the last piece that I made during that whirl of inspiration.

I didn't want to use the pieces of fabric with bold colors
on the smaller items that I was making (I'm saving them for a bigger bag!)
but I had a couple of pieces of fabric that had very pale colors
that would be great for a small bag.

I used one piece of pale fabric
along with a scrap of hand dyed batik
(and batting of course) to make my quilt sandwich.
I did some free motion quilting along with a poppy shape
(I know! I know! I'm trying to wean off that shape...)
and a little odd shaped leaf motif.

I rolled white paint (along with textile medium)
onto the back side of the quilted area.


I wasn't sure which side I would like the best
but at this point I was just experimenting.
I painted the poppy and leaf shapes
with a colored textile paint
to make them pop.

After deciding (okay - agonizing) over which side I liked the best,
I made a very simple bag shape.

I added a binding around the top edge and zig zagged the inside seams.

Then I added some shiny beads (for the magpie in me)
and hand stitching along the top edge.

I plan on going back and adding a button and loop closure
and maybe a carrying strap later.

It's a great size for my field sketching/watercolor set
and I plan on using it for that.

In this photo you can see
that it could almost be reversible with the
painting on both sides.

I love the color combinations.

I also love the marks on the side of this
that were made with the deconstructive screen printing method.
I think that I will definitely be doing more of this in the future.

See how the stitch lines show up so well when you roll paint on top of your quilted fabric?
If you're like me and you're afraid that you will mess up a large quilted item,
why don't you experiment with a small piece like I did?


Here is the front of the small bag
(which, btw, measures about 5 1/2"x7" and is apx.1" deep)
with my awkward stitching on it.

I'm not very good at free motion quilting
but practice really does make a difference.

Won't you try something new this year?
Try combining several art forms into one...
I used screen printing, sketching (or drawing), art quilting,
fabric painting and sewing.
Oh, beading and hand embroidery.

I hope that you will exercise your creativity
on a daily basis this year.

I plan on doing just that.

Monday, October 18, 2010

Deconstructive Screenprinting

Well, back to the blogger photo uploading issues...
Which, by the way, I am still having.
I'm having to upload
One Photo At A Time!
Hopefully, it will be resolved soon.
Back to the last meeting of the fiber group I am a member of -
my beloved Fiber Junkies.
This month, Judy Simmons led the group
in Deconstructive Screenprinting.
Check out her blog for details on where she learned how.
It was just fabulous to learn this technique!
We have tried regular screenprinting, which I loved, but I just don't have the space (at my home) to make my own screens.
But this screenprinting technique would be easily managed at home.
And I love the fabric that we made!
Here was the first one that I made.
I used all sorts of things to make my texture - paper that had been shredded,
scraps of lace, a round rubber thing I found in a parking lot, sliced mushrooms, a pine tree tip, wadded up exam gloves...
maybe more but no less.
The round bubble shapes on the right lower side are where I had left too much thickened dye on the screen to begin with.
It dried and left small round "blobs" of dye.

This was the second print with the thickened print paste.
You can see how the print has a few subtle changes.


The third pass...

Notice how the dried dye "blobs" are beginning to take center stage as the other images change.

There was another piece of fabric between the next one and the last one but it wasn't much different.

The paint (or dye) was beginning to fade out too much

so I added a bit of another color to my thickened paint paste on this pass.

The drip lines on this next one came about from where I had sat the screen next to me while I was messing with something else.

I love the way that they add such great texture to this piece of fabric without any extra work!


The next five photos are one of the other screens that I made.
I included shredded paper, ferns (or maybe a maple leaf), a stencil, some kind of plastic wrap
and a couple of polyester flowers that Nancy brought.
You can see the progression of the prints on the fabric.


There are actually two more pieces to this screen...

I just got tired of uploading one print at a time.

I was going to put up some of the "show and tell" photos but I neglected to ask permission to show them...

so I'll save those for later.

This was a great meeting! I can see that I will use this technique again...

I've already started a box of "texture" items for my next experiment with this technique!