Showing posts with label painted backgrounds. Show all posts

Friday, November 4, 2011

Background Painting for Book Pages

I'm working on a new project, a book, that needs some snazzy pages.
So - I pulled out a pile of paper, a few bottles of paint, couple of acrylic inks, Distress Ink Pads, stencils, masks and a sponge or two (and later on - paste for paste paper).
My studio table was a horrid mess...

Oh wait...that was actually before I began the papers (I think)...I titled this photo "Dirty Secret" since my table is dirty...but now it is no longer a secret.

This next shot was after I had already layered a couple of stamps and masks on the pages.
I always work on as many pages as I can fit in my work-space. It saves time this way and I can work from one end of the table to the other end. By the time that I finish at one end, the other end is dry and ready for the next layer.
I love painting paper this way - it is so easy to get into the "zone" and work in an intuitive manner. Before you know it, you've got 10 or 15 coordinating pages all ready for your project.
This is one of my most popular classes actually - everyone can do it and there are no mistakes!


I kept layering different colors, stamps and such until I was happy with everything.
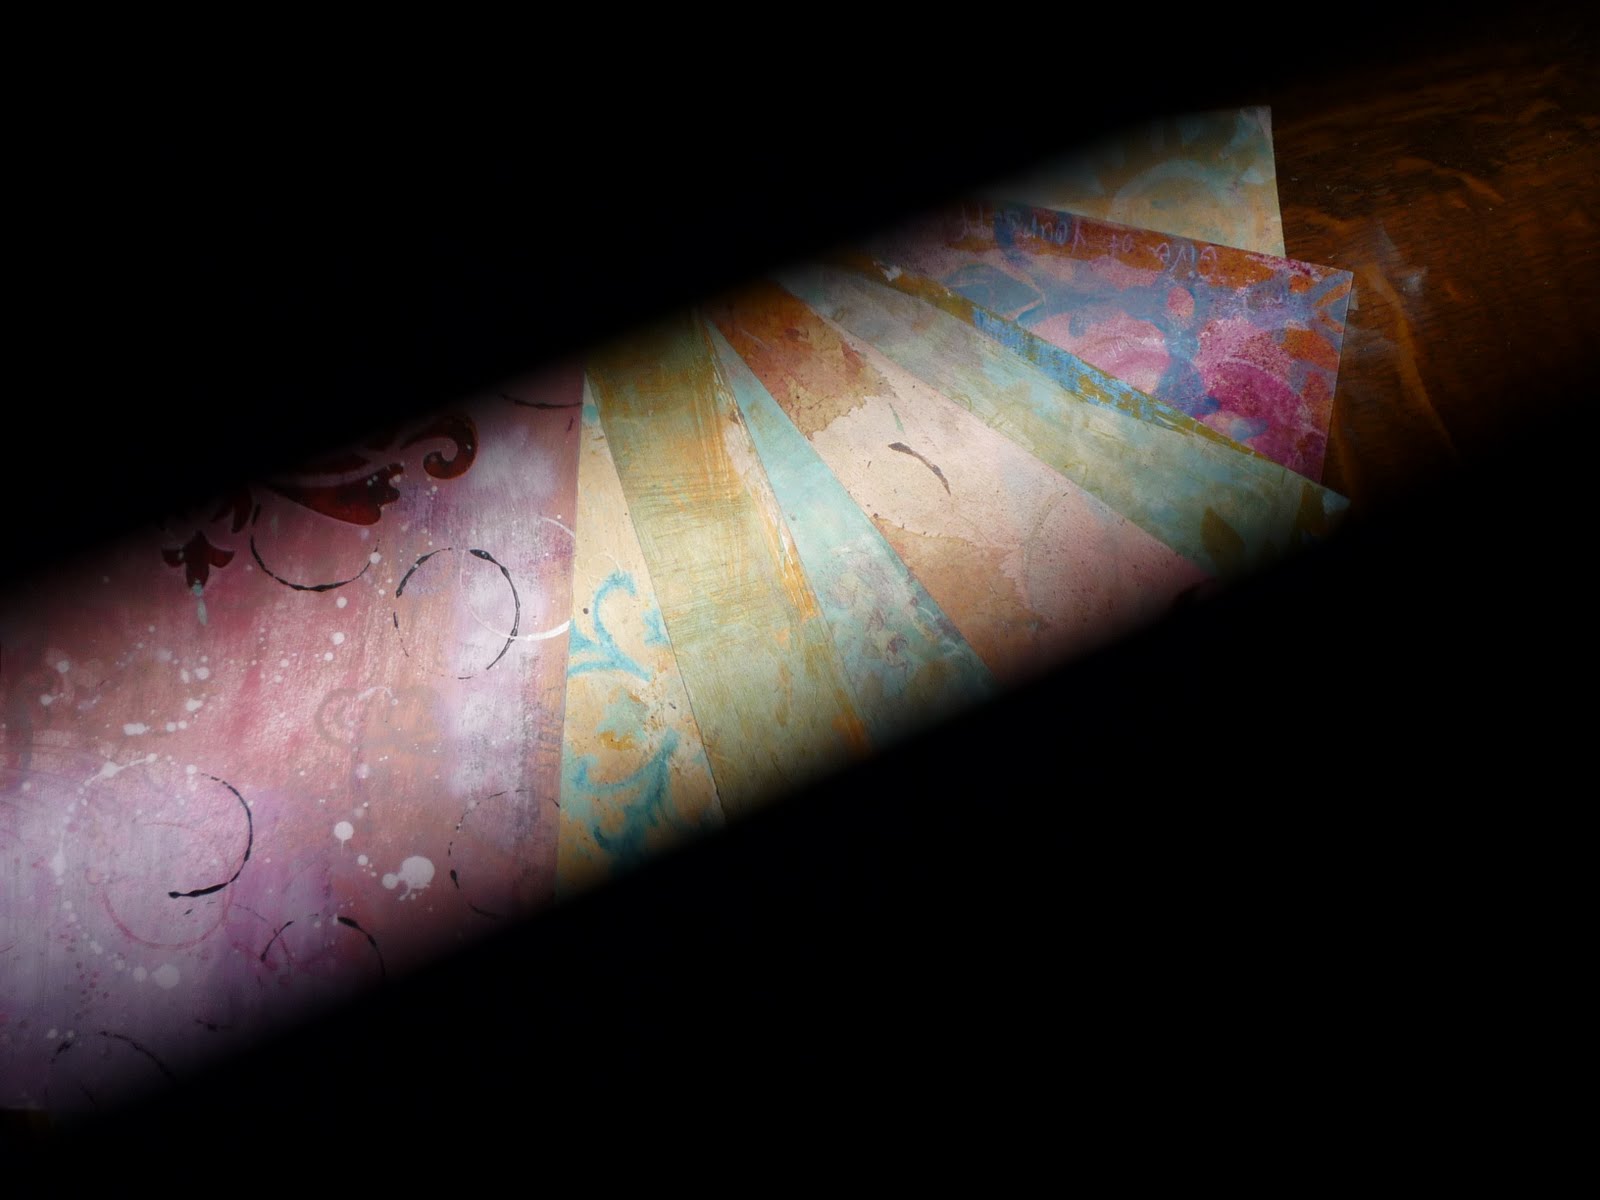
Here is a shot of some of the pages that I created that day. I did add some paste to some of the pages. I love the additional texture on the pages! I will continue to play around with making paste paper as I really like the look of it (and it IS a bit addictive, isn't it?)
I think that I may have added another layer of ink before I quit. Then I let them sit for a day or so before I ironed them (between parchment paper).


Thursday, October 20, 2011

Paper Crazy (or maybe just Plain Crazy)

Yesterday a good friend and I got together and played with paint, glue, dye and paper.
Sounds fun, right?

It was!

We spent all day mixing, concocting colors, adding mediums, and spreading the final product onto a variety of different papers.

It all began as an experiment into paste papers and kinda evolved into a mix of  that and my typical approach to everything art related.

Wide.
Open.

Thank goodness that Nancy was there to reign me in a little bit.
I love the possibility of what this process could add to the way that I create Artist Papers.
Another approach to layering color and texture.
Embedding your own personal mark making into each piece.

The process is a fantastic way to investigate your personal marks and symbols.
A lot of people don't even realize their mark vocabulary...
by making these types of painted papers, this vocabulary will inevitably make itself known to you.
(actually, that should be the description for the "Painted Backgrounds" class)

So, grab a friend, some art supplies, your best creative spirit and have at it!
Or - take a class.

Be brave!
Learn!

Here are a few shots of what we did...keep in mind that, for me, this is only the beginnings of the painted papers.
I plan on adding more, more, MORE!


 I was surprised to see tiny bubbles in the paint on this piece of paper where I screened an image with too much paint. I kinda like the look of it though. Try clicking on it to see it close up.
This is the forth layer of dye or paint on this particular paper.
An initial splat or two of dye, paste with paint, more dye added, stamp with the gold acrylic paint and then the Thermofax screen...
Oops, that's five layers, isn't it?
Well...anyway...


Now some of these aren't true "paste papers" at all...
Some of them have been colored with dyes before (or after) adding varying amounts of the paste paper concoction.
Then there are still others that were stamped with a hand carved poppy stamp after I got home...
oh, then I added a Thermofax screen image to one or two before I collapsed into a heap of tiredbutveryhappy
on my couch...

Oh so tired but thrilled to add yet one more tool to my artist belt.

Sunday, August 28, 2011

Art Journal Pages


Three simple ingredients (so far).
Gesso
Spray Ink
Masks (&/or stencils)

Swipe gesso across page in a random (and distracted) manner.
Hold stencils (or mask) down with one hand while using the other hand to mist watered-down ink over area.
Allow to dry before proceeding with the next step.

I'll proceed with the next step later.

Just wanted to pop in and share a simple background method with you all.
This is a great way to add color/texture/just something to your paper without a lot of work.
It also prevents that "blank page" syndrome...nothing like a little (or a lot of ) color to brighten up a page of paper.

Thursday, March 17, 2011

Making Books With Painted Art Papers

I've been making samples for a book class that I have coming up next week  in Asheville NC.
I use scraps of watercolor paper that I added layers and layers of paint on.
I love making these papers to use in my artwork.

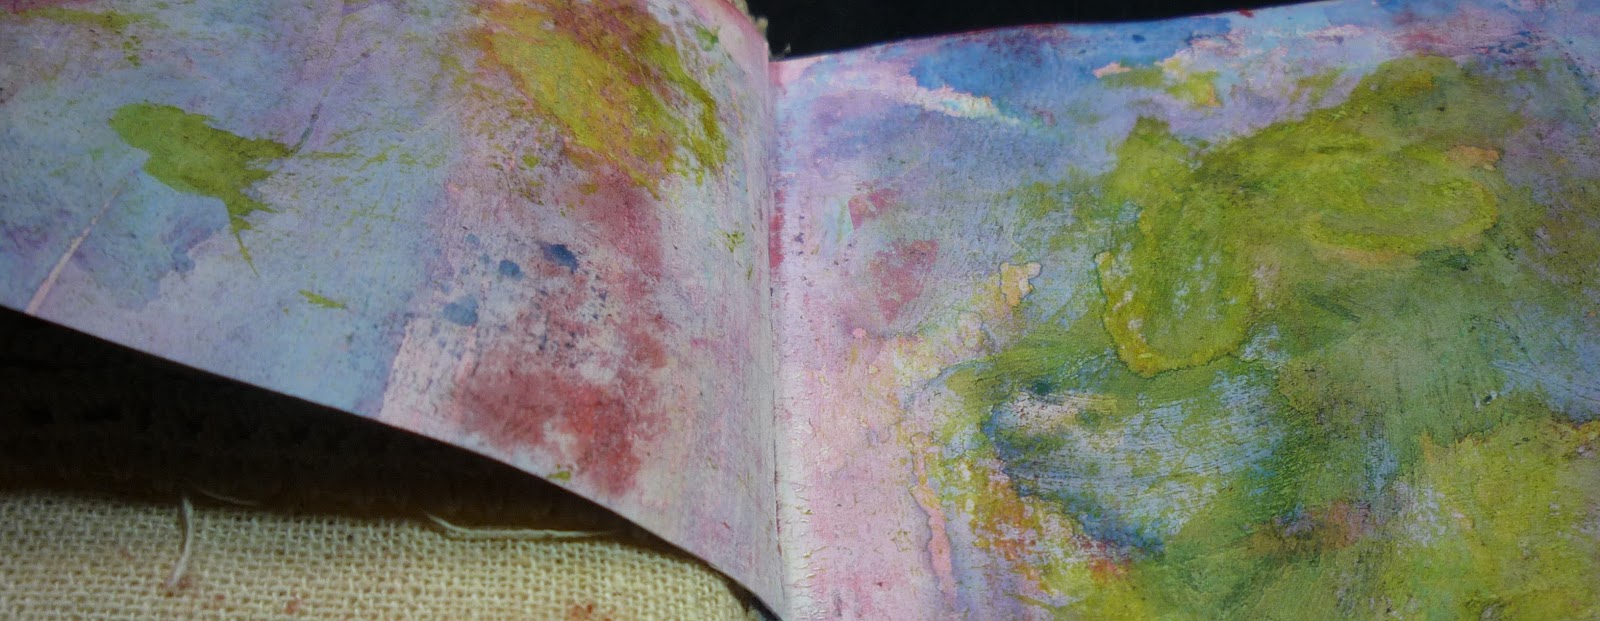
This is what I did with the papers from my last post...
I made the book covers out of them.


And here's a shot of a couple of pages that I have sewn inside the book.


Not all of the pages are painted at this point. I usually keep these small books to the side of my work table and as I have extra paint (or ink) left over at the end of a work session, I smear them onto one of the pages in whichever book I grab first.

You could say that my studio is spilling over with painted papers.

Wednesday, August 25, 2010

Creative Play, I mean Work

At the Textile Evolution Retreat, I am teaching two different classes.
One is the Scraps, Fragments and Artifacts class.
Check out this post (and this post) for info about that one.
The second class is only one day.
It's an exercise in creative play called "Play, Create, Explore".
It's going to be so much fun!
We'll be making an 8" x 8" piece of mixed media fiber art. I supply the kit
so all the participants have to do is show up!
Well, maybe bring one or two sewing machines in the mix.
We'll scrape some paint around, collage some images, ponder on some words to add to our rusty fiber/bird's nest paper background.
Oh, let's not forget the beads, the button ribbon,the sheet music and the flowers...
I think there is only a couple of spots left!
Sign up NOW!

The other thing I've been doing (among the 872 other things) is getting ready for the WGAF - which will be four days after I get back from Colorado Springs.
Yeah, I realize that everything is all jammed up together...
I'm going to have some cards ready to sell - note card type- some with prints of my paintings and some will be original tiny paintings.
Here is one that I painted.


You can't tell from the photo, but it has a narrow white border around it.

Sometimes it takes me a while to warm up to some of my work,

but I really liked this one right away.

I have been putting in 10-12 hour studio days getting ready.

I should say "work days" instead of "studio days" since I work all over the house...

Does anyone else do that?

Monday, August 16, 2010

Published!

Last year, when my buddy Jane Powell recommended this awesome book to me, I never dreamt of the impact it would have in my life.
"Life is a Verb" by Patti Digh.
Jane had Patti out to her shop to do a reading along with a book signing. And, loving the book as I do, my husband and I went.
I met Patti (and Mr. Brilliant (her husband) and sweet little Tess(her beautiful daughter) and signed up to be on the list to submit artwork for her next book.
Last February (I think) I got an email with a "Call for Art" in it.
A mere two weeks to respond...yikes!
And you know how it goes, everything under the sun happened in those two weeks to slow me down...
to keep me from making art for Patti.
But, stubbornness won out and I submitted a piece.
A little bit later I got an email from her editor saying that my artwork had been chosen to grace the pages of her book!
Yippee!
Today, I had this waiting for me when I got home...

My complimentary copy of the new book "Four Word Self Help"!
Here is what I sent in for my essay "Sit in the sunshine".


By the way, you folks that have taken my layered paper class may recognise the background...I used one of the papers that I demo in class.

See? I told you that those papers could be used for all manner of things!

Anyway - here is my page, page 75.

And it's very good advice too -

"Sit in the Sunshine"

Wednesday, April 14, 2010

Painted Art Papers


Here's a couple of art papers that I painted, stamped, masked, added to, took away from and just generally enjoyed adding color and texture to.
I'm going to be teaching a class at Random Arts Studio on April 23.
It's going to be a lot of fun! We'll be learning about different types of paper and how the weight of the paper effects what you can do to it and on it.
We will learn about what types of paint work best on painting art papers.
We'll use stencils and masks.
Baby wipes, alcohol (maybe drink some wine too!) and all sorts of different "found items"
to add texture, shape and movement to our papers.
Run on over to Jane's web site and sign up or call this number (828/699-2210) to reserve your spot.
There's only room for about 12 bodies and all our stuff so sign up before it fills!
I'd like to teach a class later this year to make a journal with the papers that we paint.
Wouldn't that be fun?
Maybe we can invite Betsy to give us a journaling prompt at the class.
hint...hint...